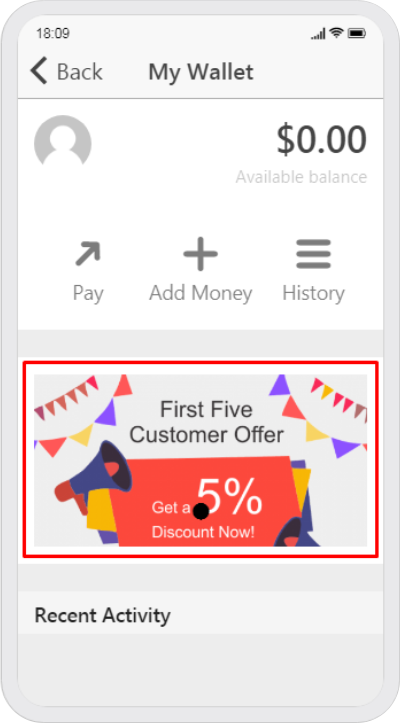
Wallet Money:
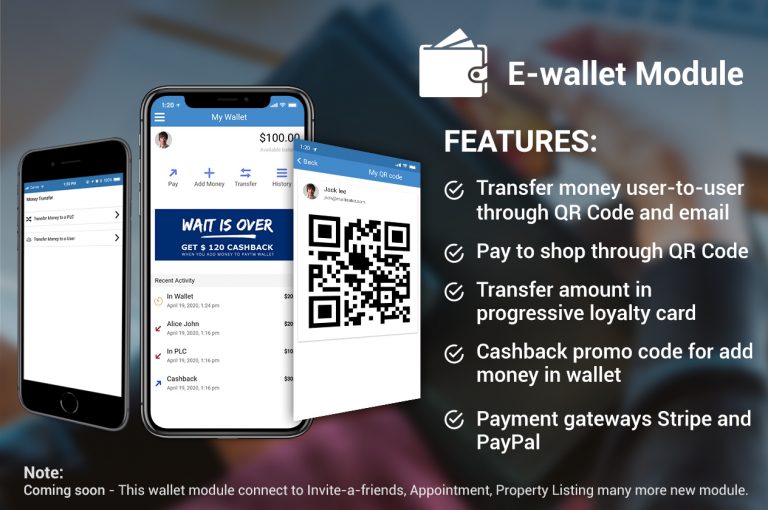
1. This is a digital wallet or Mobile Wallets use in online shopping.
2. Customer can Pay to shop using QR code (is created by admin) and money is transfer in shop wallet (Not in the any bank account).
Transfer to a Loyalty Card:
1. Customer can transfer Wallet balance amount in the progressive Loyalty Card.
Transfer to a Customer:
1. Customer can transfer a wallet money to another customer wallet in the same app.
2. E-Wallet module is not allowing transfer wallet amount in to any bank account.
QR Code:
1. QR code is use for transfer a wallet amount to other Customer or Shop Wallet. Without enter any email id or Code.
2. The purpose of QR Code is easy to use.
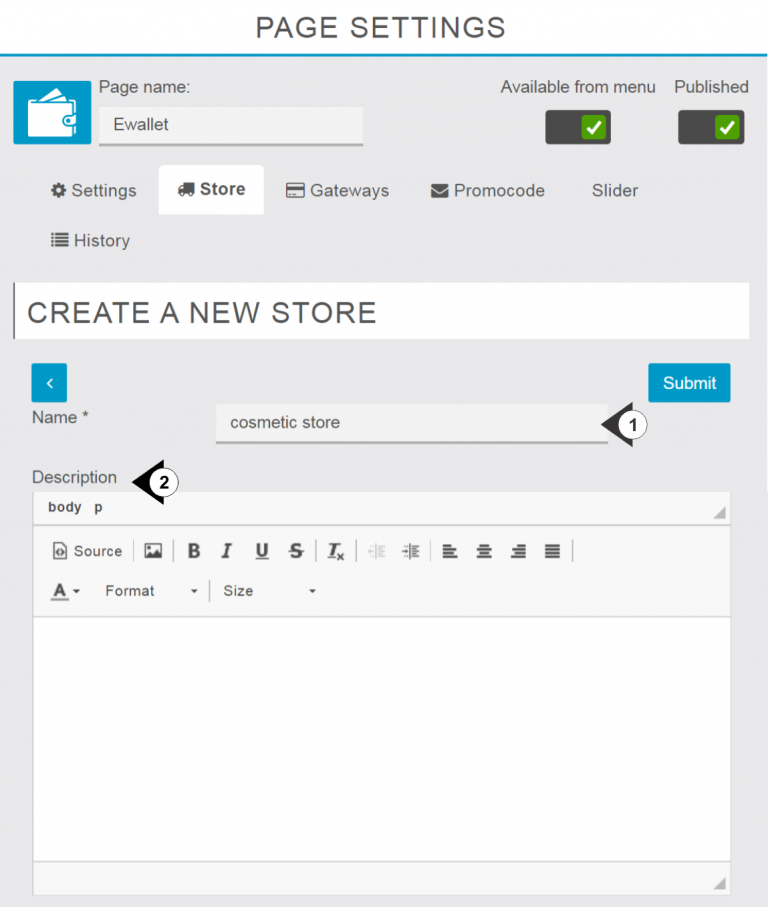
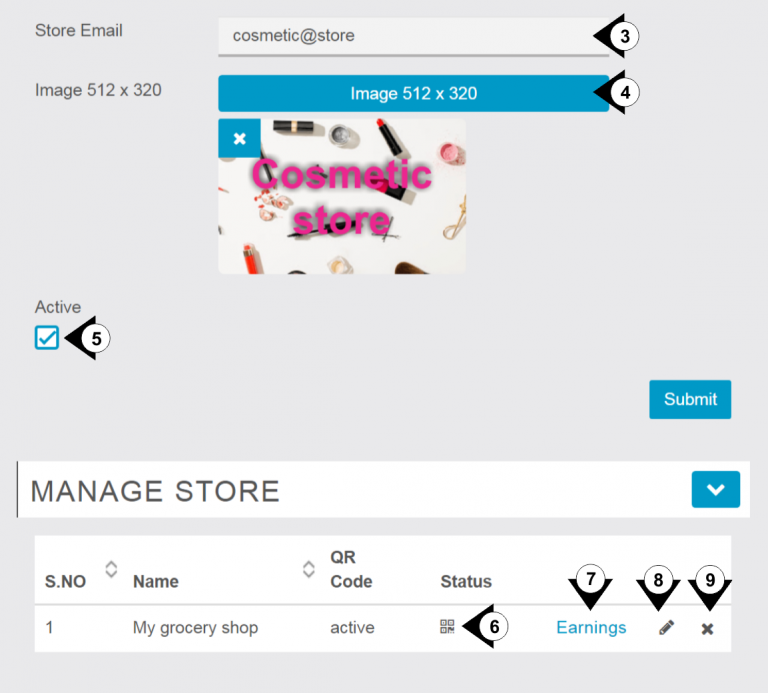
Store
Create QR code for store and Customer can pay the amount using Wallet and money is transfer to Store wallet. Store wallet history is display in backend (editor) section.
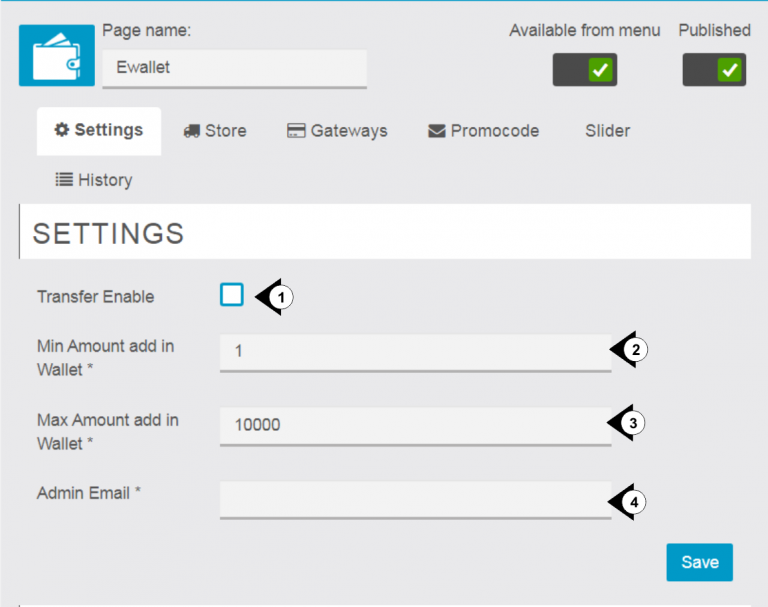
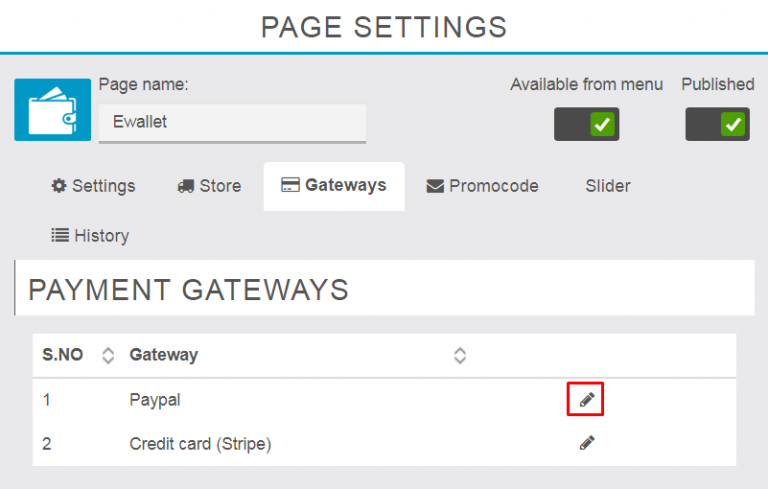
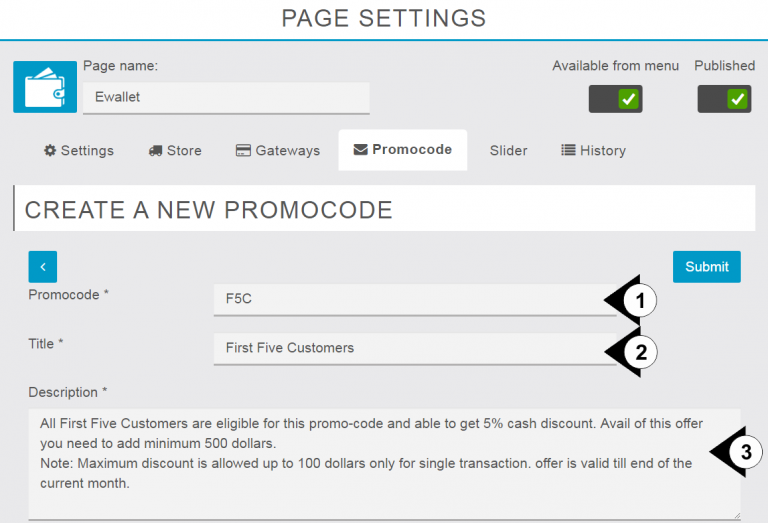
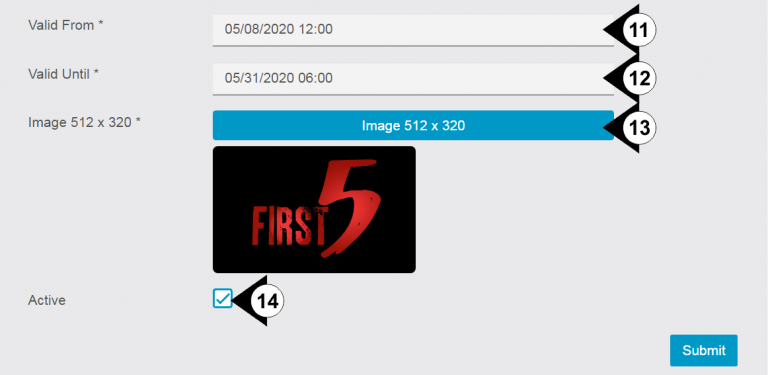
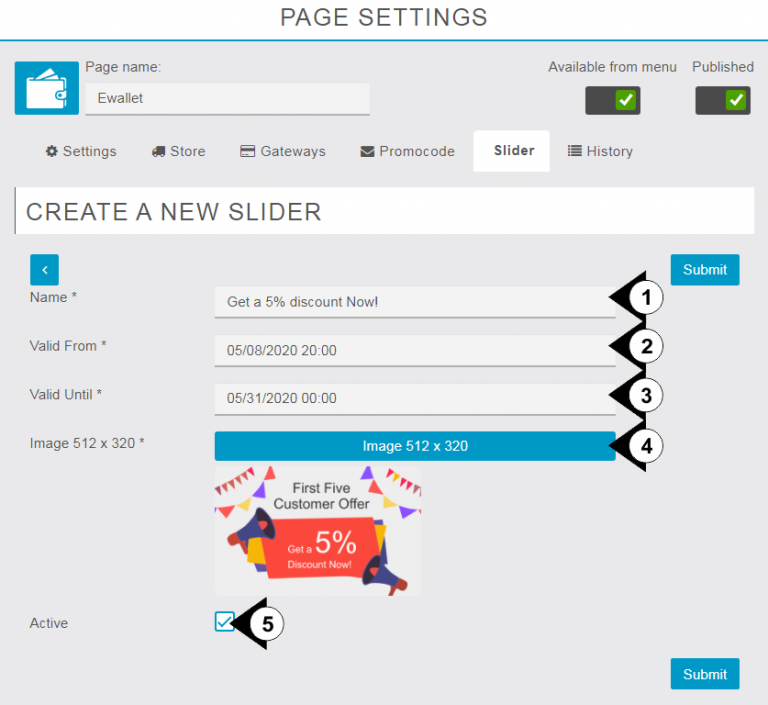
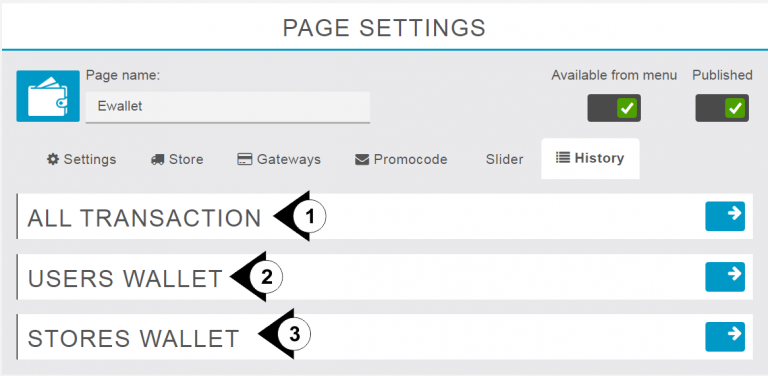
Setup
Above are general brief about features in setup we see step by step process of E-wallet module in depth. We see each and every option of different sections of E-wallet module like Settings, Store, Gateways, Promo code, Slider & History.