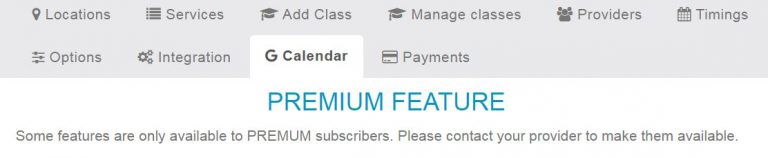
GOOGLE SYNC (PREMIUM FEATURE)
With this feature, you’ll be able to synchronize the Provider’s appointment schedule with his own Google Calendar. Detailed instructions on how to set it up will be added shortly. Meanwhile please contact our support for assistance.
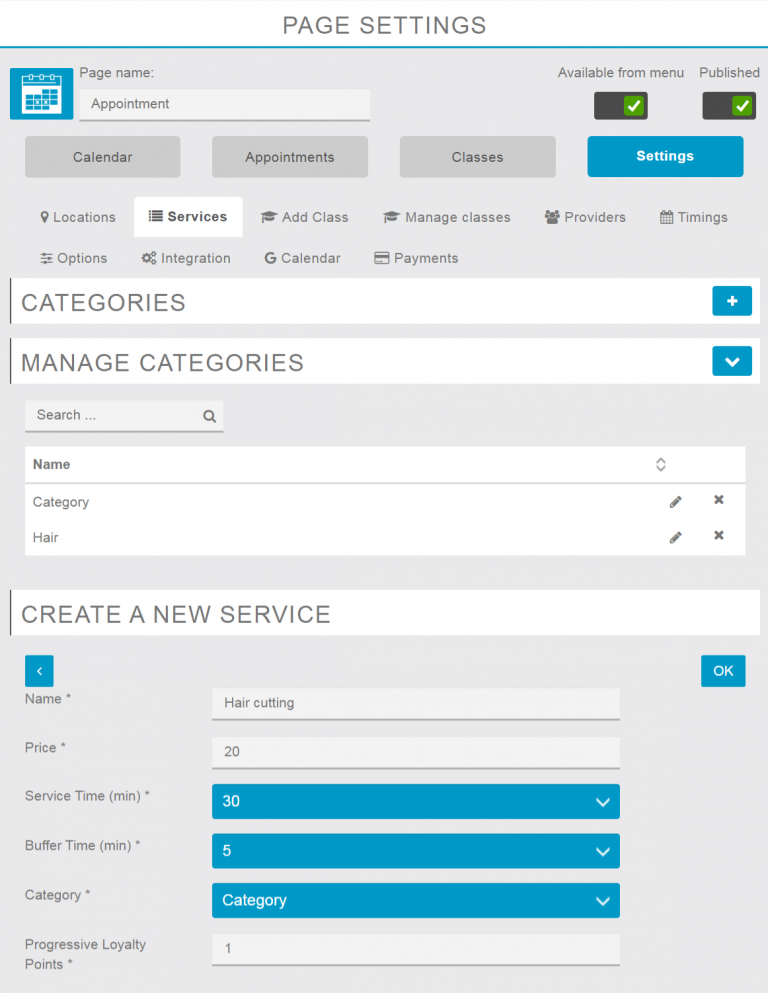
Integration of Progressive Loyalty Card Module
With release 1.3 the Easy Appointments module has been connected to the Progressive Loyalty Card and, as such, it’s possible to accumulated loyalty points automatically. The loyalty points need to be configured for each service separately. If you don’t want any points to be credited, you’ll need to set the loyalty points to 0. Once the loyalty points have been assigned, when the customer makes a booking the points are not credited immediately. The system waits until the end of the booking time in order credit the loyalty points automatically. If the customer doesn’t show up for the appointment, you’ll need to cancel it so that points are not accrued. If the appointments are not cancelled (or deleted), the loyalty points will be accrued on the Progressive Loyalty Card. Please note that before the points are credited automatically, the Progressive Loyalty Card module needs to be installed and properly configured, including loyalty card and rewards creation.